How to Create TpT Covers, Thumbnails and Previews
If you are new to the world of TpT (Teachers Pay Teachers), then welcome! You have so much fun and learning ahead of you. If you are a more experienced seller then it’s great to see that you are still open to learning more about how to improve your business. There’s always room to grow, and as teachers we understand that well.
When it comes to getting established on TpT, it is important to make sure our stores are set up for success. Before diving deep into outside marketing, I highly recommend taking the time to make sure you’re confident with your TpT store, and that your product listings are optimised.
Once you’ve created your product and are getting it ready to upload to TpT, there are 3 visual components to prepare. Those things are: the product cover, the thumbnail images and the product preview. These visual components all work together to help your resource stand out, and to give your potential customers the information they need to decide to make a purchase.
Let’s look into these areas with a bit more detail.
TpT Cover Tips
You’ve taken the time to make an amazing product that you’ve released to the world through TpT – well done! But, how are you going to make sure other people know just how amazing this product is?
One of the ways we can optimise our TpT product listings is by designing effective covers. The goal of our covers should be to:
- Catch the attention of our potential customers
- Clearly and succinctly state what the resource is
Covers make a big difference when it comes to getting more eyes on your resources. When it comes to designing covers, 2 things to focus on are to include a bold, clear title and a relevant visual to catch potential customers’ attention.

The visual you use on your cover may be a photo, like in my cover example below. As you can see, sometimes simple can be very effective.

You don’t have to use a photo though. There are many ways to creatively use snapshots of your resource as well as eye catching clipart images to make your covers clear and appealing. Below is another example of a cover without a photo.
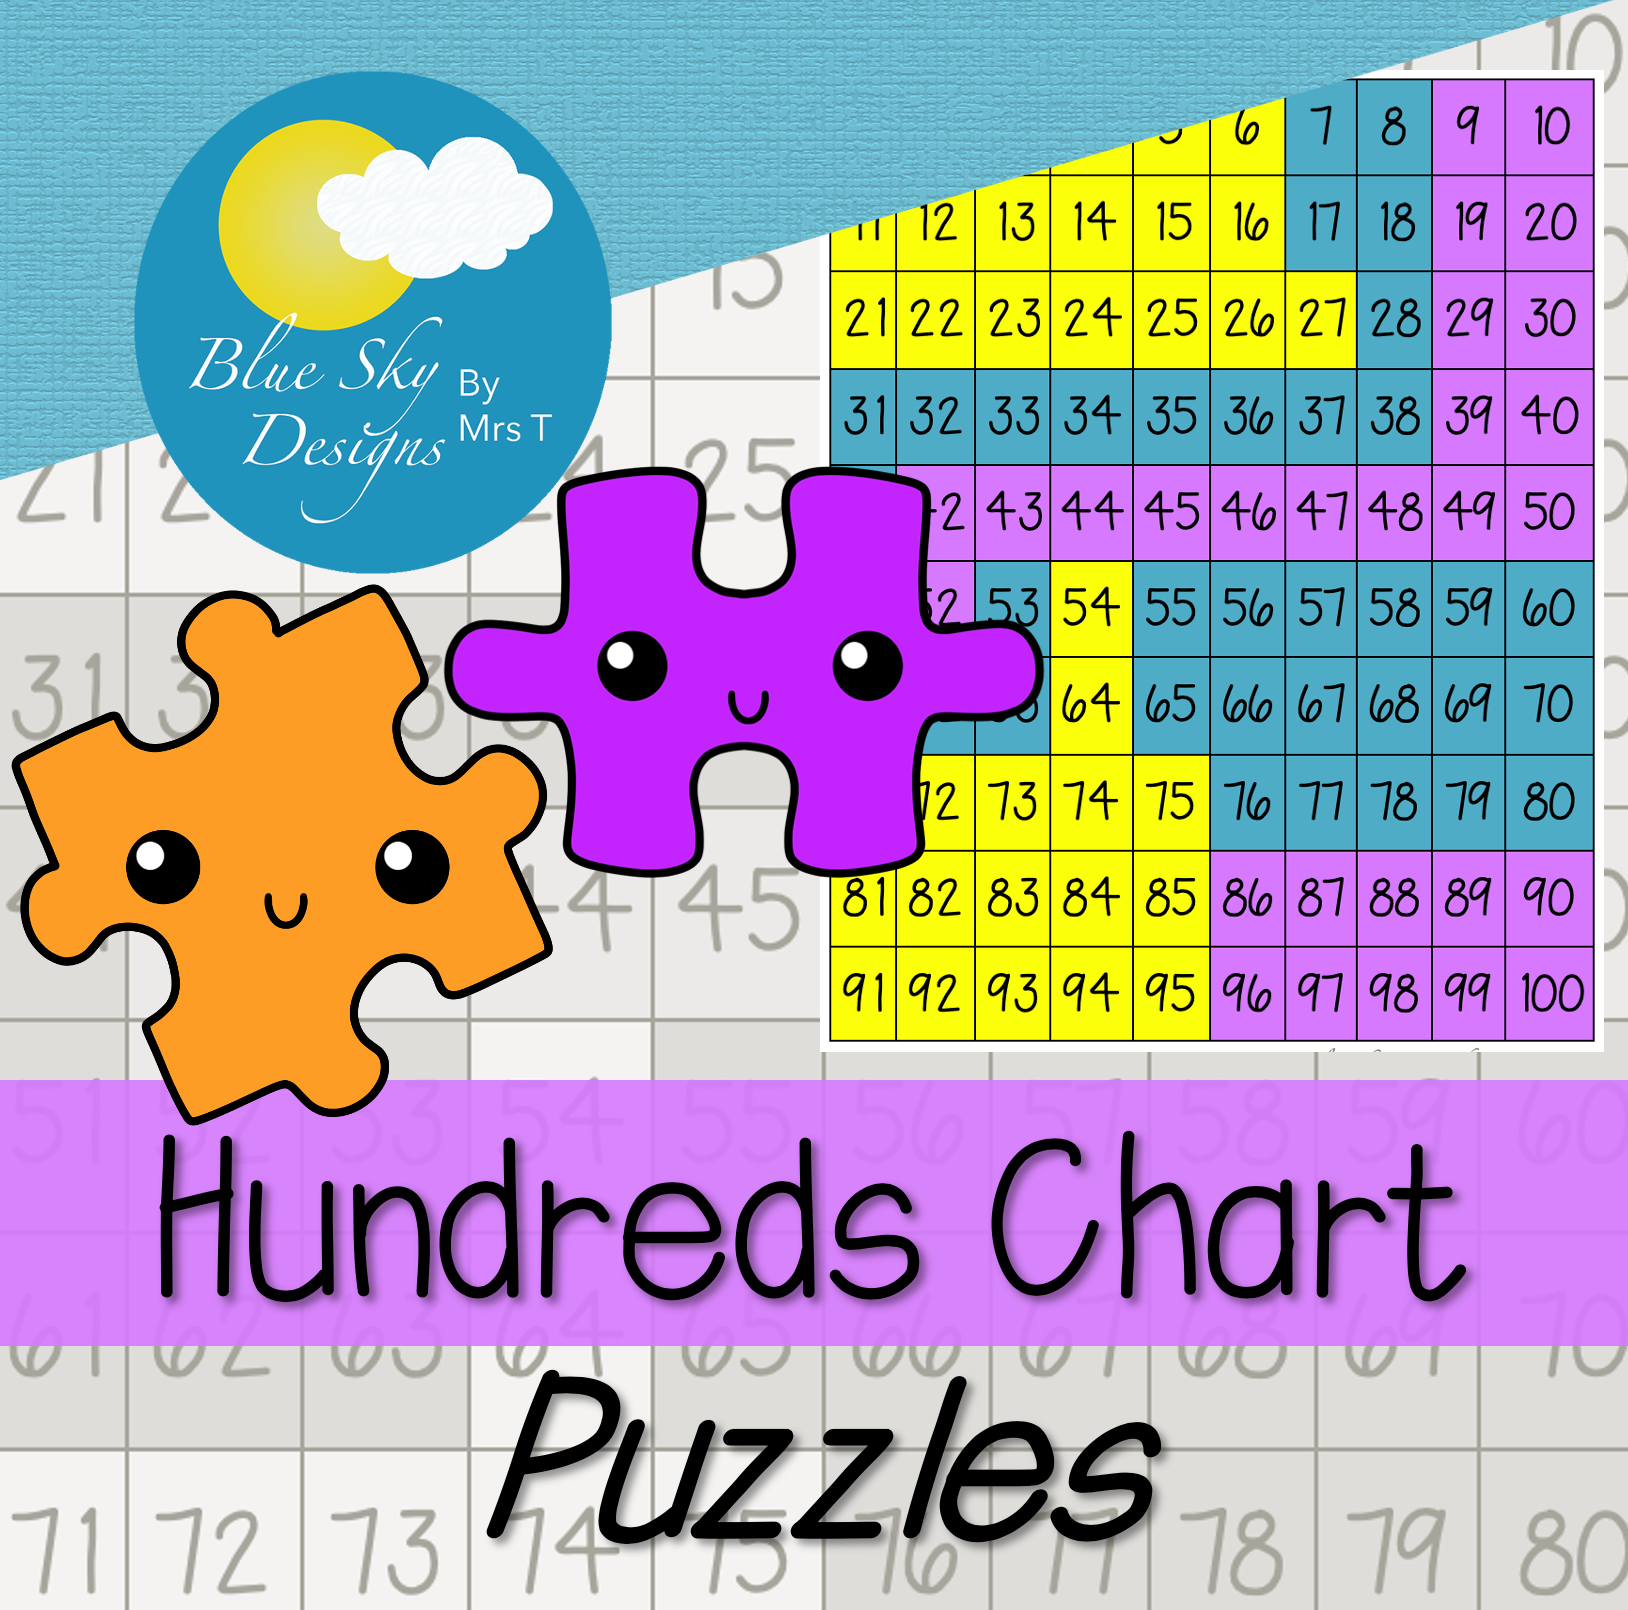
And below is yet another option of how you could design your covers using a snapshot of the resource.

There are many styles that work well for covers, just remember to include those 2 main elements of a clear title and a relevant visual.
If designing covers sounds more stressful than fun, you can always get someone else to create a template for you. If you’re interested in finding out more about having custom covers designed to match your branding, click here.

TpT Thumbnail Image Tips
After the cover, you have 3 more image spaces in your TpT listing called the thumbnail images. Sometimes the cover can be considered as one of the thumbnails, but whether you distinguish the cover as separate from the other 3 thumbnails, or refer to all 4 images as thumbnails, just make sure you’ve used all the available spaces.
You should make the most of all thumbnail spaces for every resource you post. Your thumbnail image spots are important real estate for your product listings. When you don’t use all 4 thumbnail images, you are missing out on an opportunity to keep your potential buyer on your product page.

You might notice when uploading your resources that there is the opportunity to use auto-generated thumbnails on TpT – and that’s a good starting point. Eventually though, it’s good practice to upload your own instead.
To do this, you’ll need to select ‘Upload Thumbnails’ in the product listing section instead of having the ‘Auto-generated thumbnails from the product file’ selected. This is a tiny checkbox (or circle actually) so it’s easy to miss. I’ll share a photo below. Then, you can upload your own images that have been more intentionally designed.

TpT Preview Tips
After the cover and thumbnails comes the preview. You should include a preview on all of your products and make sure that it gives an accurate representation of the resource.
I’ve found it interesting that many of the TpT sellers I work with have shared how they find previews to be one of the more difficult and time-consuming parts of their TpT product listings.
But it doesn’t need to be time consuming or difficult. It just takes a bit of forward planning to make this process easier.
Previews don’t need to be complicated. In fact, if you’re finding that your previews are taking too long for you to make and feel overwhelming when you’re putting them together, it’s likely that your potential customers will find them too long and overwhelming too. Your potential customers are busy teachers who are short on time, so try to make your previews as clear as possible and make the key information that they’re looking for easy for them to find.
Keep your previews simple. Use them to highlight the main features of your products. Making complex previews creates more work for you and can make it harder for your potential customers to clearly see the benefits of your resources.

To really make the process of creating previews easier, I recommend taking the time to create a template that you can use for all of your TpT product previews. It doesn’t need to be perfect, it just needs to give a glimpse of your resource. Then, each time you upload a product, you can simply swap the images to suit your new file, keeping the template you’ve created.
That’s what I have in place, and what I help my clients with, and it’s such a time-saver!
If you’re interested in having a custom preview template designed to match your branding, click here to find out more.
If you’d like to have a go at designing your own, here’s an example of a few pages I pulled out of one of my previews. As you can see, I have a simple template that matches my branding. I then have space to change the page snapshots and the features highlighted on each page of the preview..
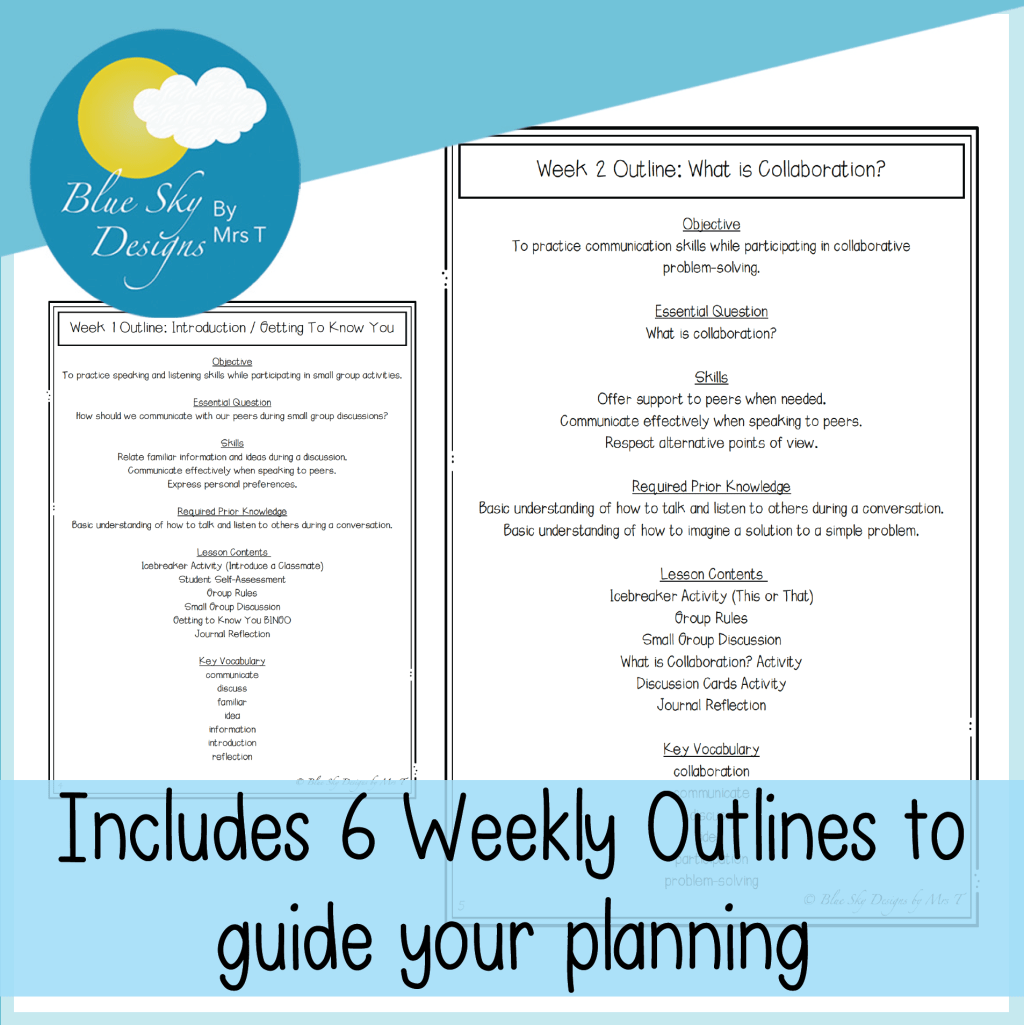
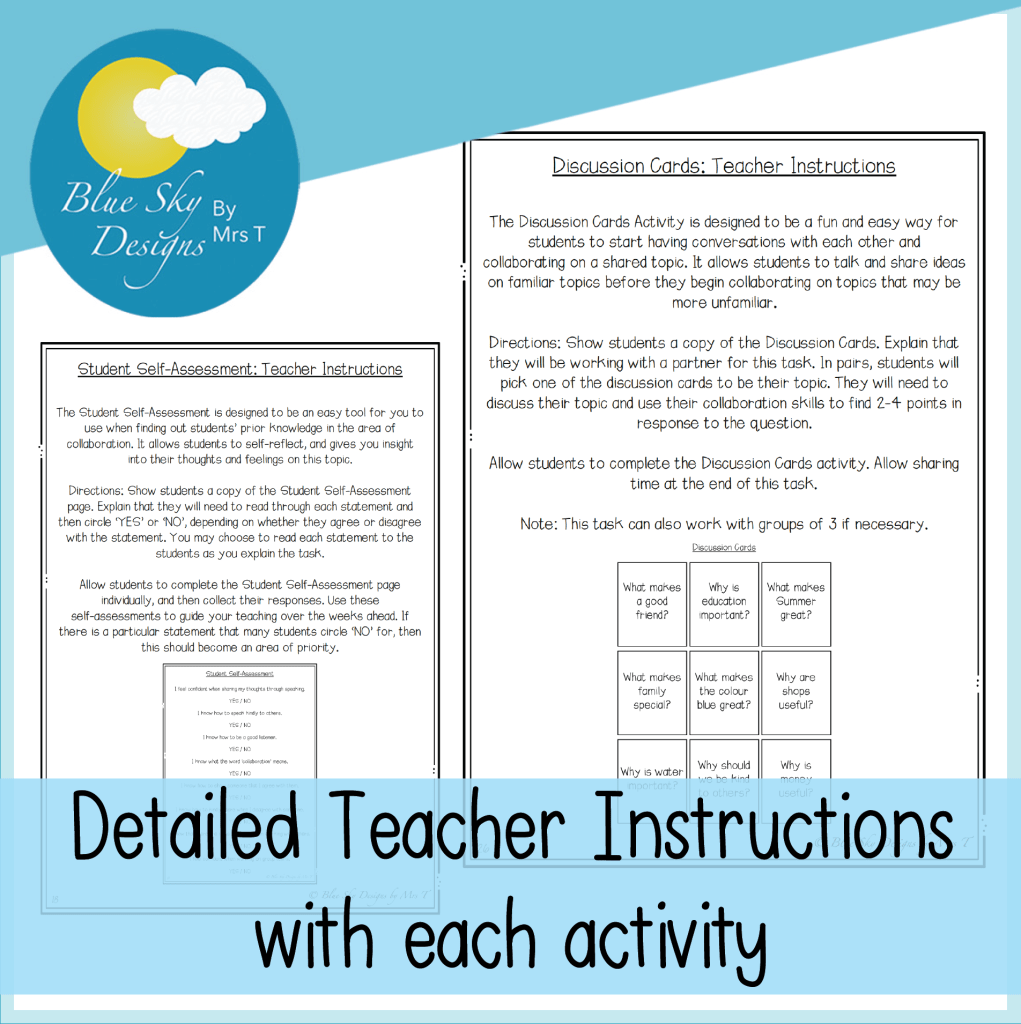

By highlighting the main features of the resource, I can help my potential customers clearly and quickly find the information they’re looking for.
So, I encourage you to also create a template that you can use when making your preview files. This will save you so much time in the long run, and will make it less likely that you’ll skip the preview altogether.

I hope you’ve found these tips for creating TpT covers, thumbnails and previews helpful. If you’d like more support with designing your product covers, thumbnails or previews, I offer a TpT Product Listing Refresh service where I update all of the elements of your resource listings for you. Find out more about TpT Product Listing Refreshes here.
You can also view my page of Support and Services for TpT Sellers to learn more about how I can support you on your TpT journey.

